The Short Answer
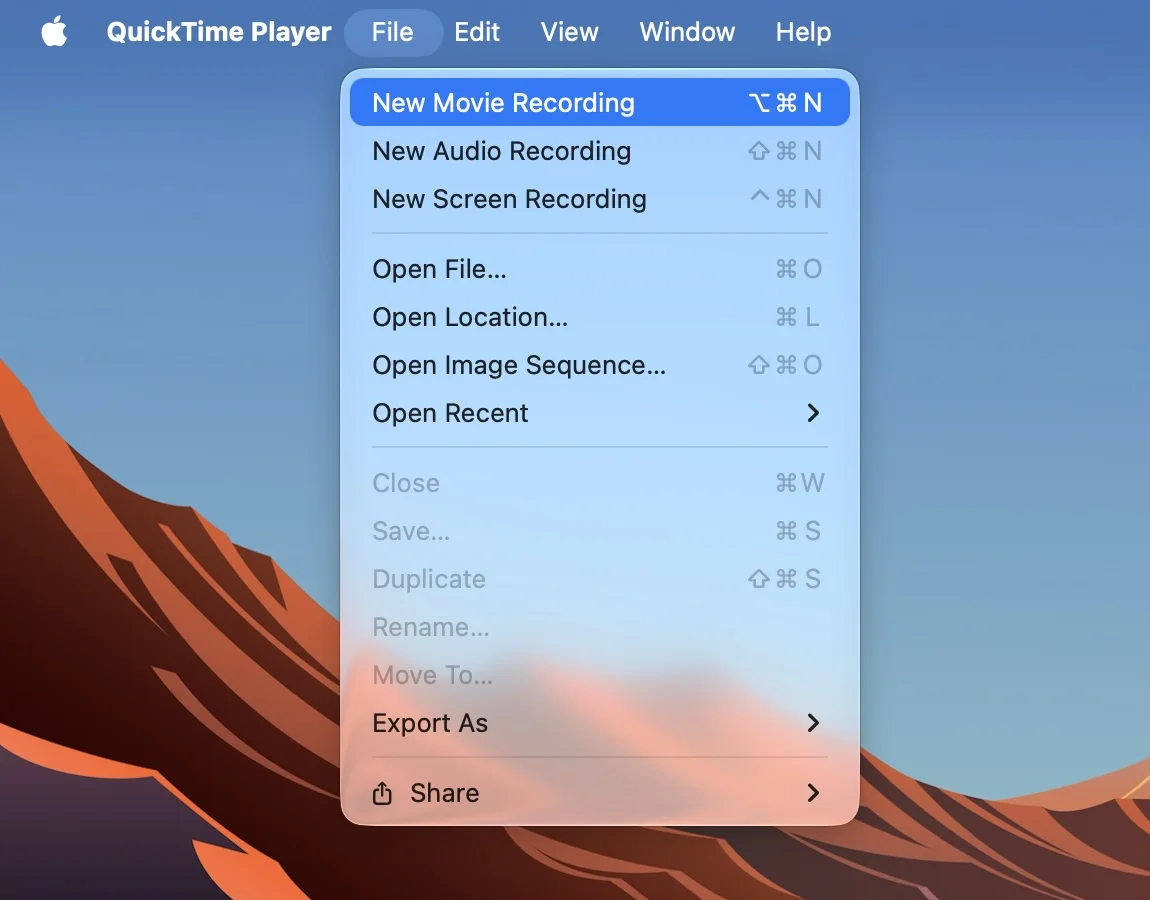
Open QuickTime Player, choose File › New Movie Recording, and press the red button. When you stop, press ⌘S to save the video. That's it, and it's free on every Mac.
QuickTime is the right pick for most one-off clips. Photo Booth is faster for a quick message. If you're reading from a script, filming several takes, or posting to YouTube or LinkedIn, the last section covers a setup built for that.
Option 1: QuickTime Player
QuickTime ships with every Mac and records your camera and microphone to an ordinary movie file.
- Open QuickTime Player from Applications or Spotlight.
- Choose File › New Movie Recording, or press ⌥⌘N. A preview of your camera opens.
- Click the small arrow next to the record button to choose the camera, the microphone, and the quality. High is right for almost everything. Maximum makes much larger files.
- Click the red button to start, and click it again to stop.
- Press ⌘S, name the file, and pick a folder. QuickTime saves a
.movfile that plays anywhere and drops straight into iMovie, Final Cut, or a YouTube upload.
QuickTime can also trim the start and end: choose Edit › Trim (⌘T) and drag the yellow handles. To cut a stumble out of the middle, use Edit › Split Clip on either side of it and delete the piece. That works, but it gets fiddly after a few cuts.
Option 2: Photo Booth
Photo Booth is the fastest way to record a short clip, and the one to reach for when you want to send a quick video message.
- Open Photo Booth.
- At the bottom left, click the button for Record a movie clip.
- Click the red record button in the middle to start, and again to stop.
- The clip appears in the strip along the bottom. Drag it to your desktop, or select it and use File › Export to save a copy.
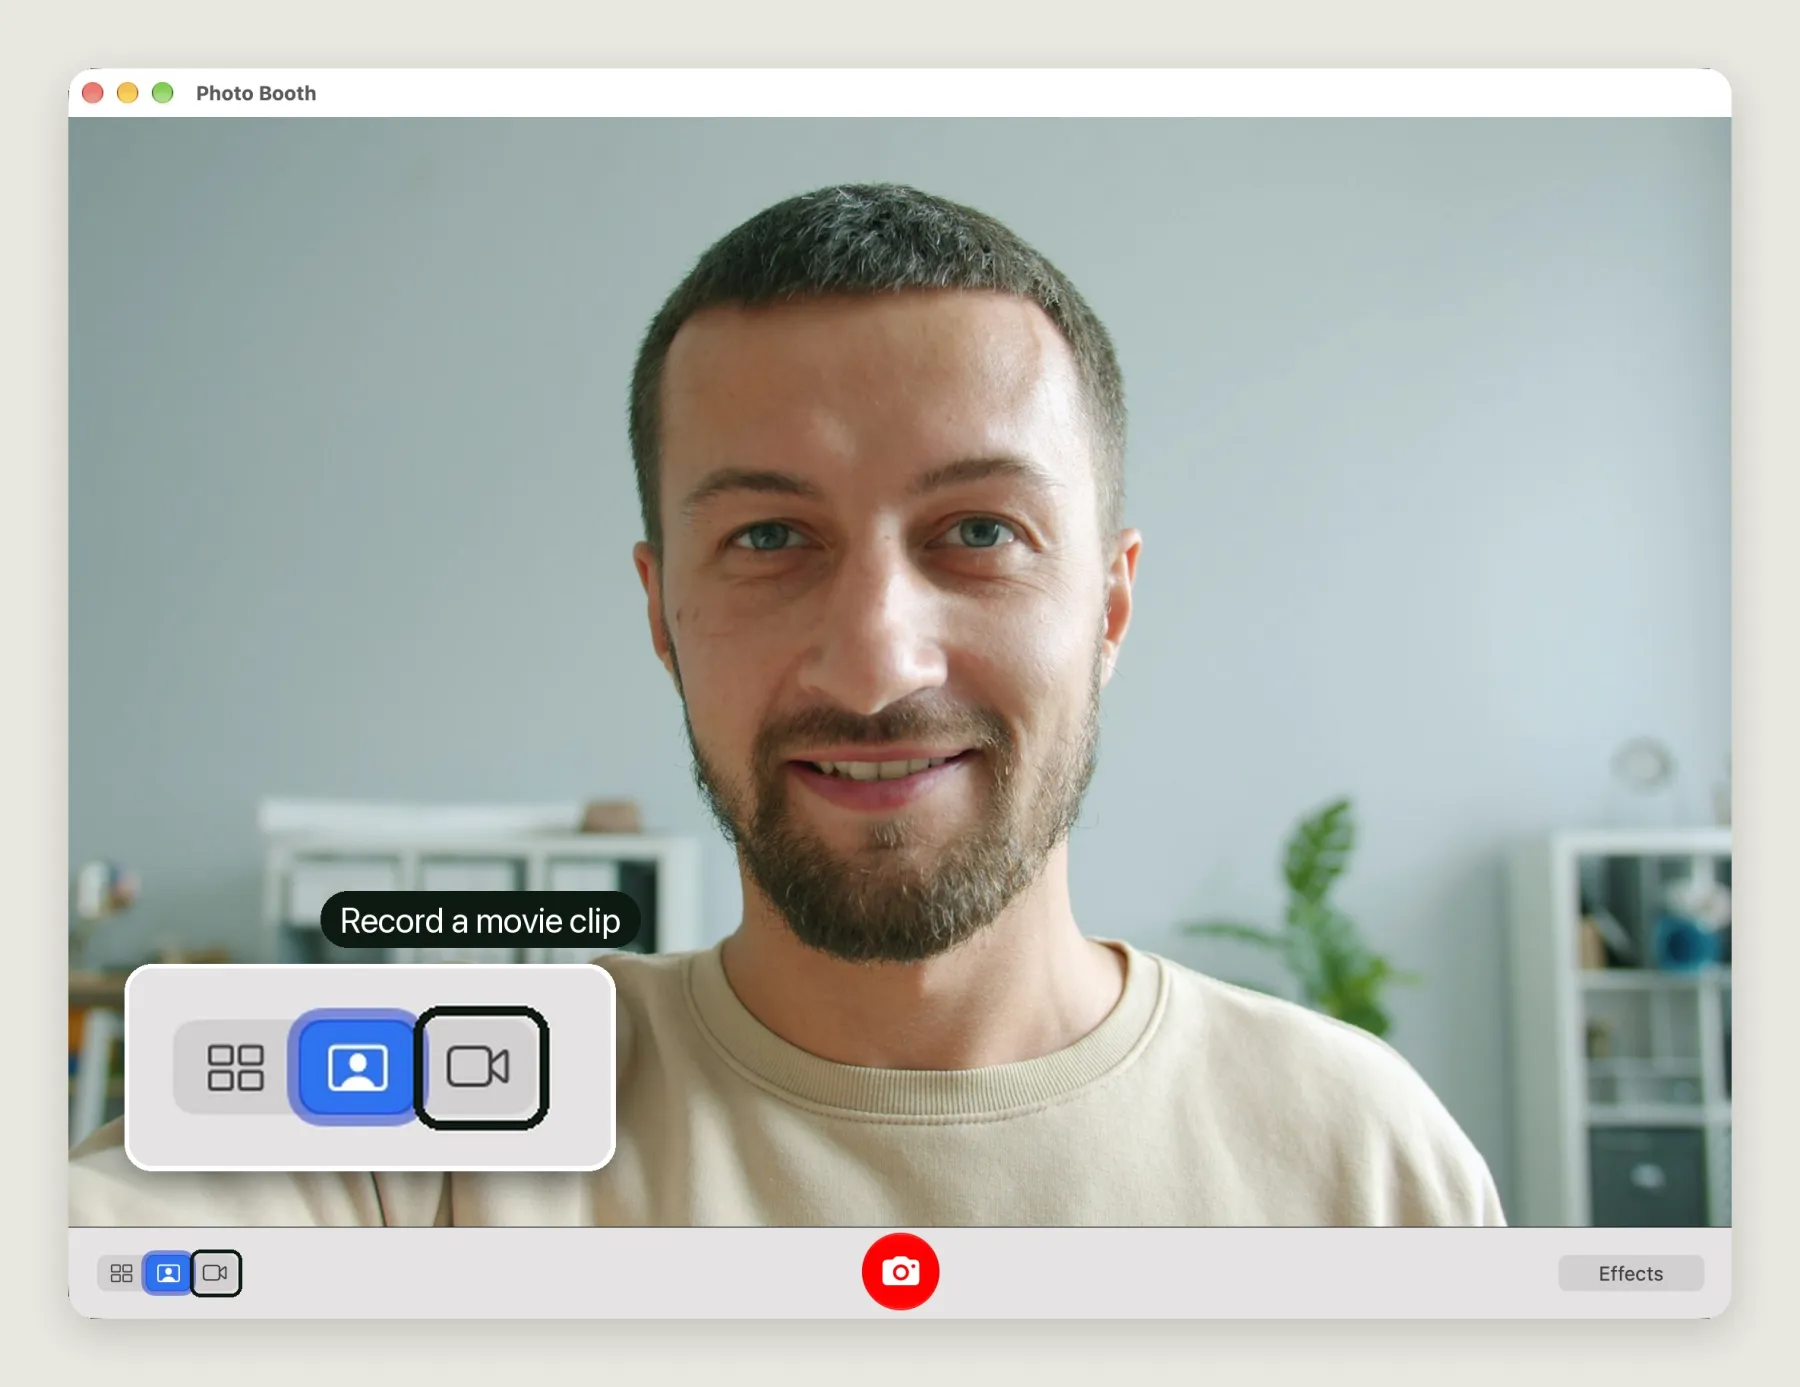
Photo Booth keeps its clips inside a library in your Pictures folder rather than as loose files, which is why exporting is a separate step. It has fun effects and no quality setting, so use QuickTime for anything you plan to publish.
Option 3: Record Yourself and Your Screen Together
For a tutorial or a walkthrough you often want your face in the corner while you show something on screen. QuickTime can do this with one trick:
- Start a New Movie Recording in QuickTime so your camera preview is showing. Don't press record.
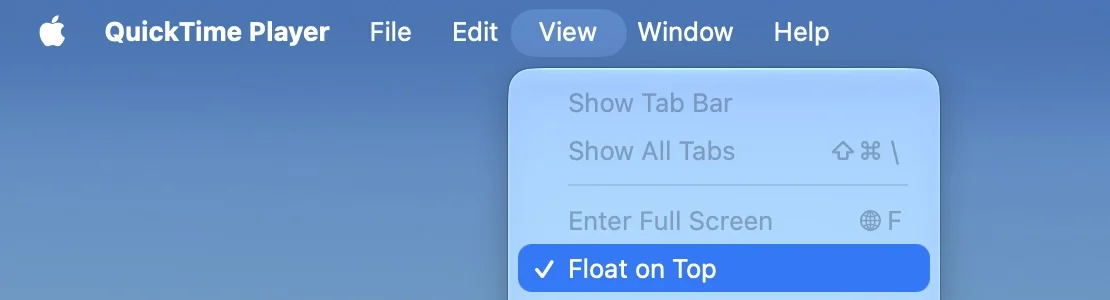
- Choose View › Float on Top, then shrink the preview and drag it to a corner.
- Press ⇧⌘5 and record the screen. The floating camera preview is captured with everything else.
Pick a Better Camera
The built-in camera on a recent MacBook is fine for calls. For video you'll publish, two upgrades make the biggest difference.
Your iPhone. With Continuity Camera, an iPhone works as your Mac's webcam with no cable and no app to install. Mount it in landscape near the top of your screen, and it appears in QuickTime's camera list. It needs an iPhone XR or later, iOS 16, and macOS Ventura or newer, signed in to the same Apple Account with Wi-Fi and Bluetooth on.
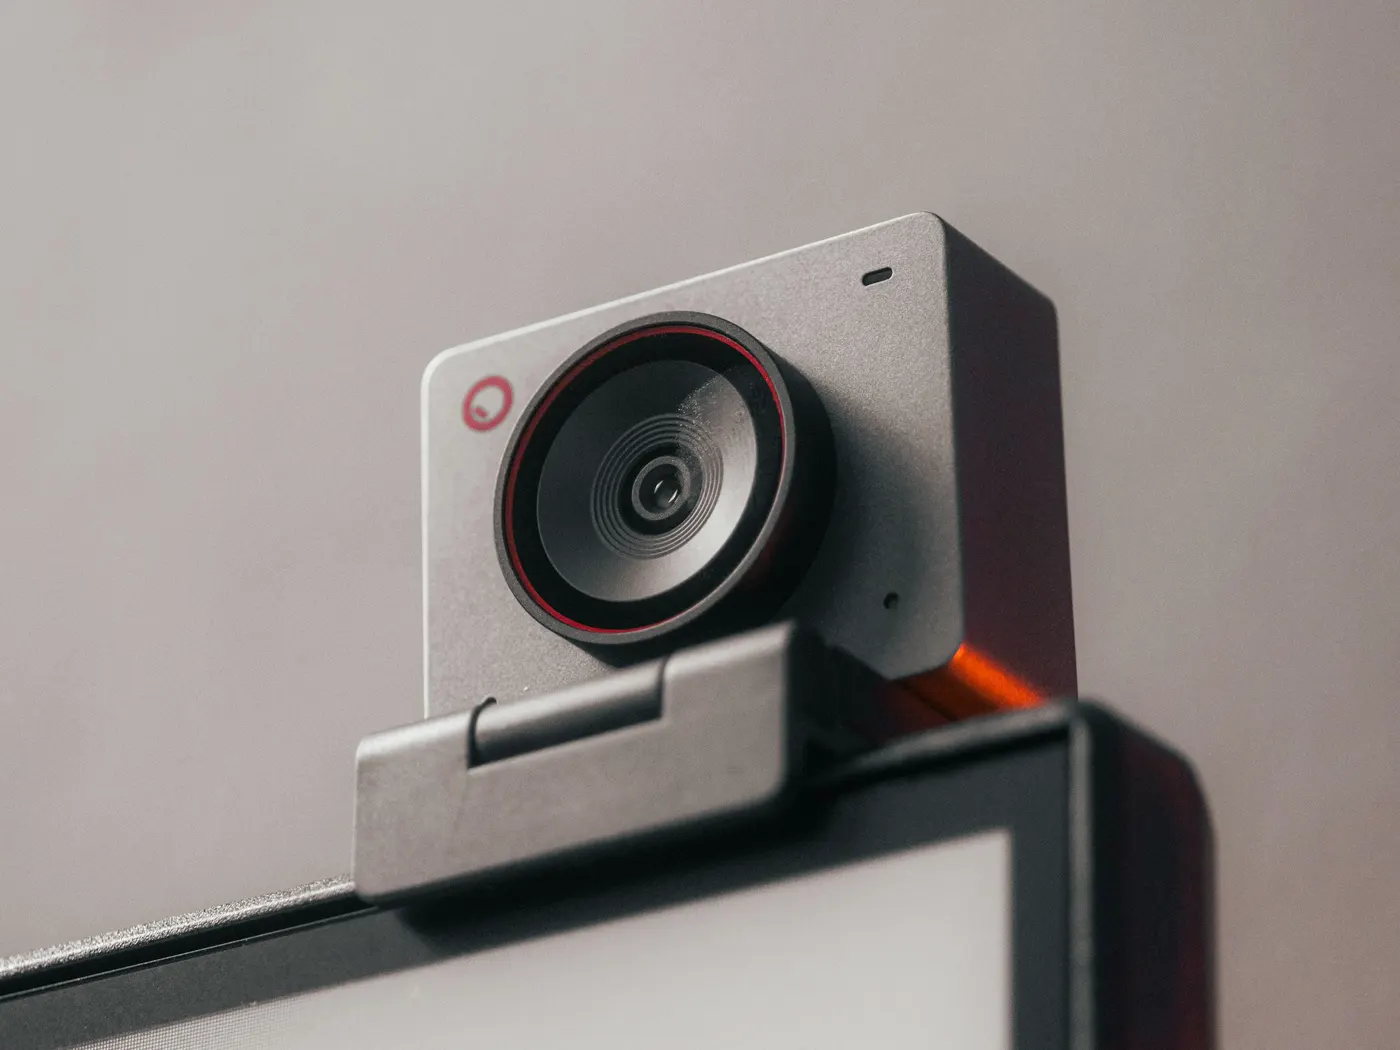
A USB webcam. Any webcam that works on a Mac shows up in the same menu. Whichever camera you use, put it at eye height. A camera below your chin looks up your nose. One above your head makes you look small.
On recent versions of macOS, the Video Effects menu in Control Center adds background blur, Studio Light, and Center Stage to any app using the camera, QuickTime included, depending on your Mac and camera.
Light and Sound Matter More Than the App
The same camera looks twice as good with the right light. Face a window, or put a lamp behind your screen pointing at you, so your face is the brightest thing in the frame. Avoid a window behind you, which turns you into a silhouette.
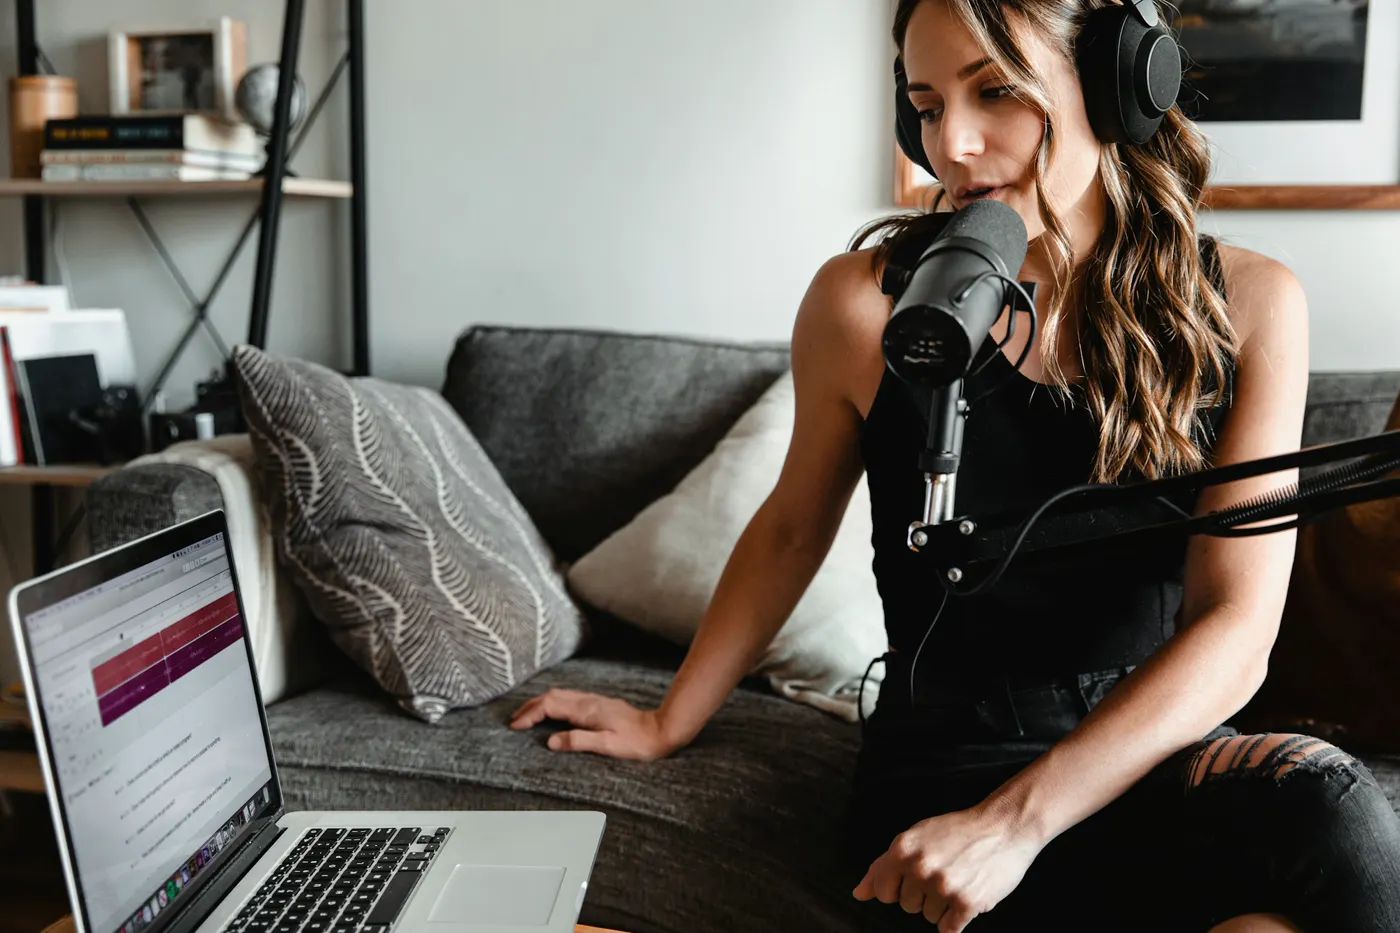
Sound is where most home video gives itself away. Your Mac's microphones are good, but they're half a metre away and pick up the room. A USB microphone or a clip-on lavalier close to your mouth sounds far better. Choose it in the same QuickTime menu as the camera. Soft furnishings help too, since a room full of hard surfaces echoes.
When You're Reading a Script
Here's where QuickTime and Photo Booth stop helping. If you're reading, your notes are somewhere on the screen, usually in the middle, and your eyes drop to them on every line. Viewers notice. Then you record the take four times, end up with a desktop full of Movie Recording 7.mov, and still have to trim each one.
A teleprompter fixes the reading part. Avocado puts your script in the MacBook notch, right under the camera, so you read while looking at the lens. The prompter is free and stays out of screen recordings and screen shares, so it works alongside QuickTime as-is.
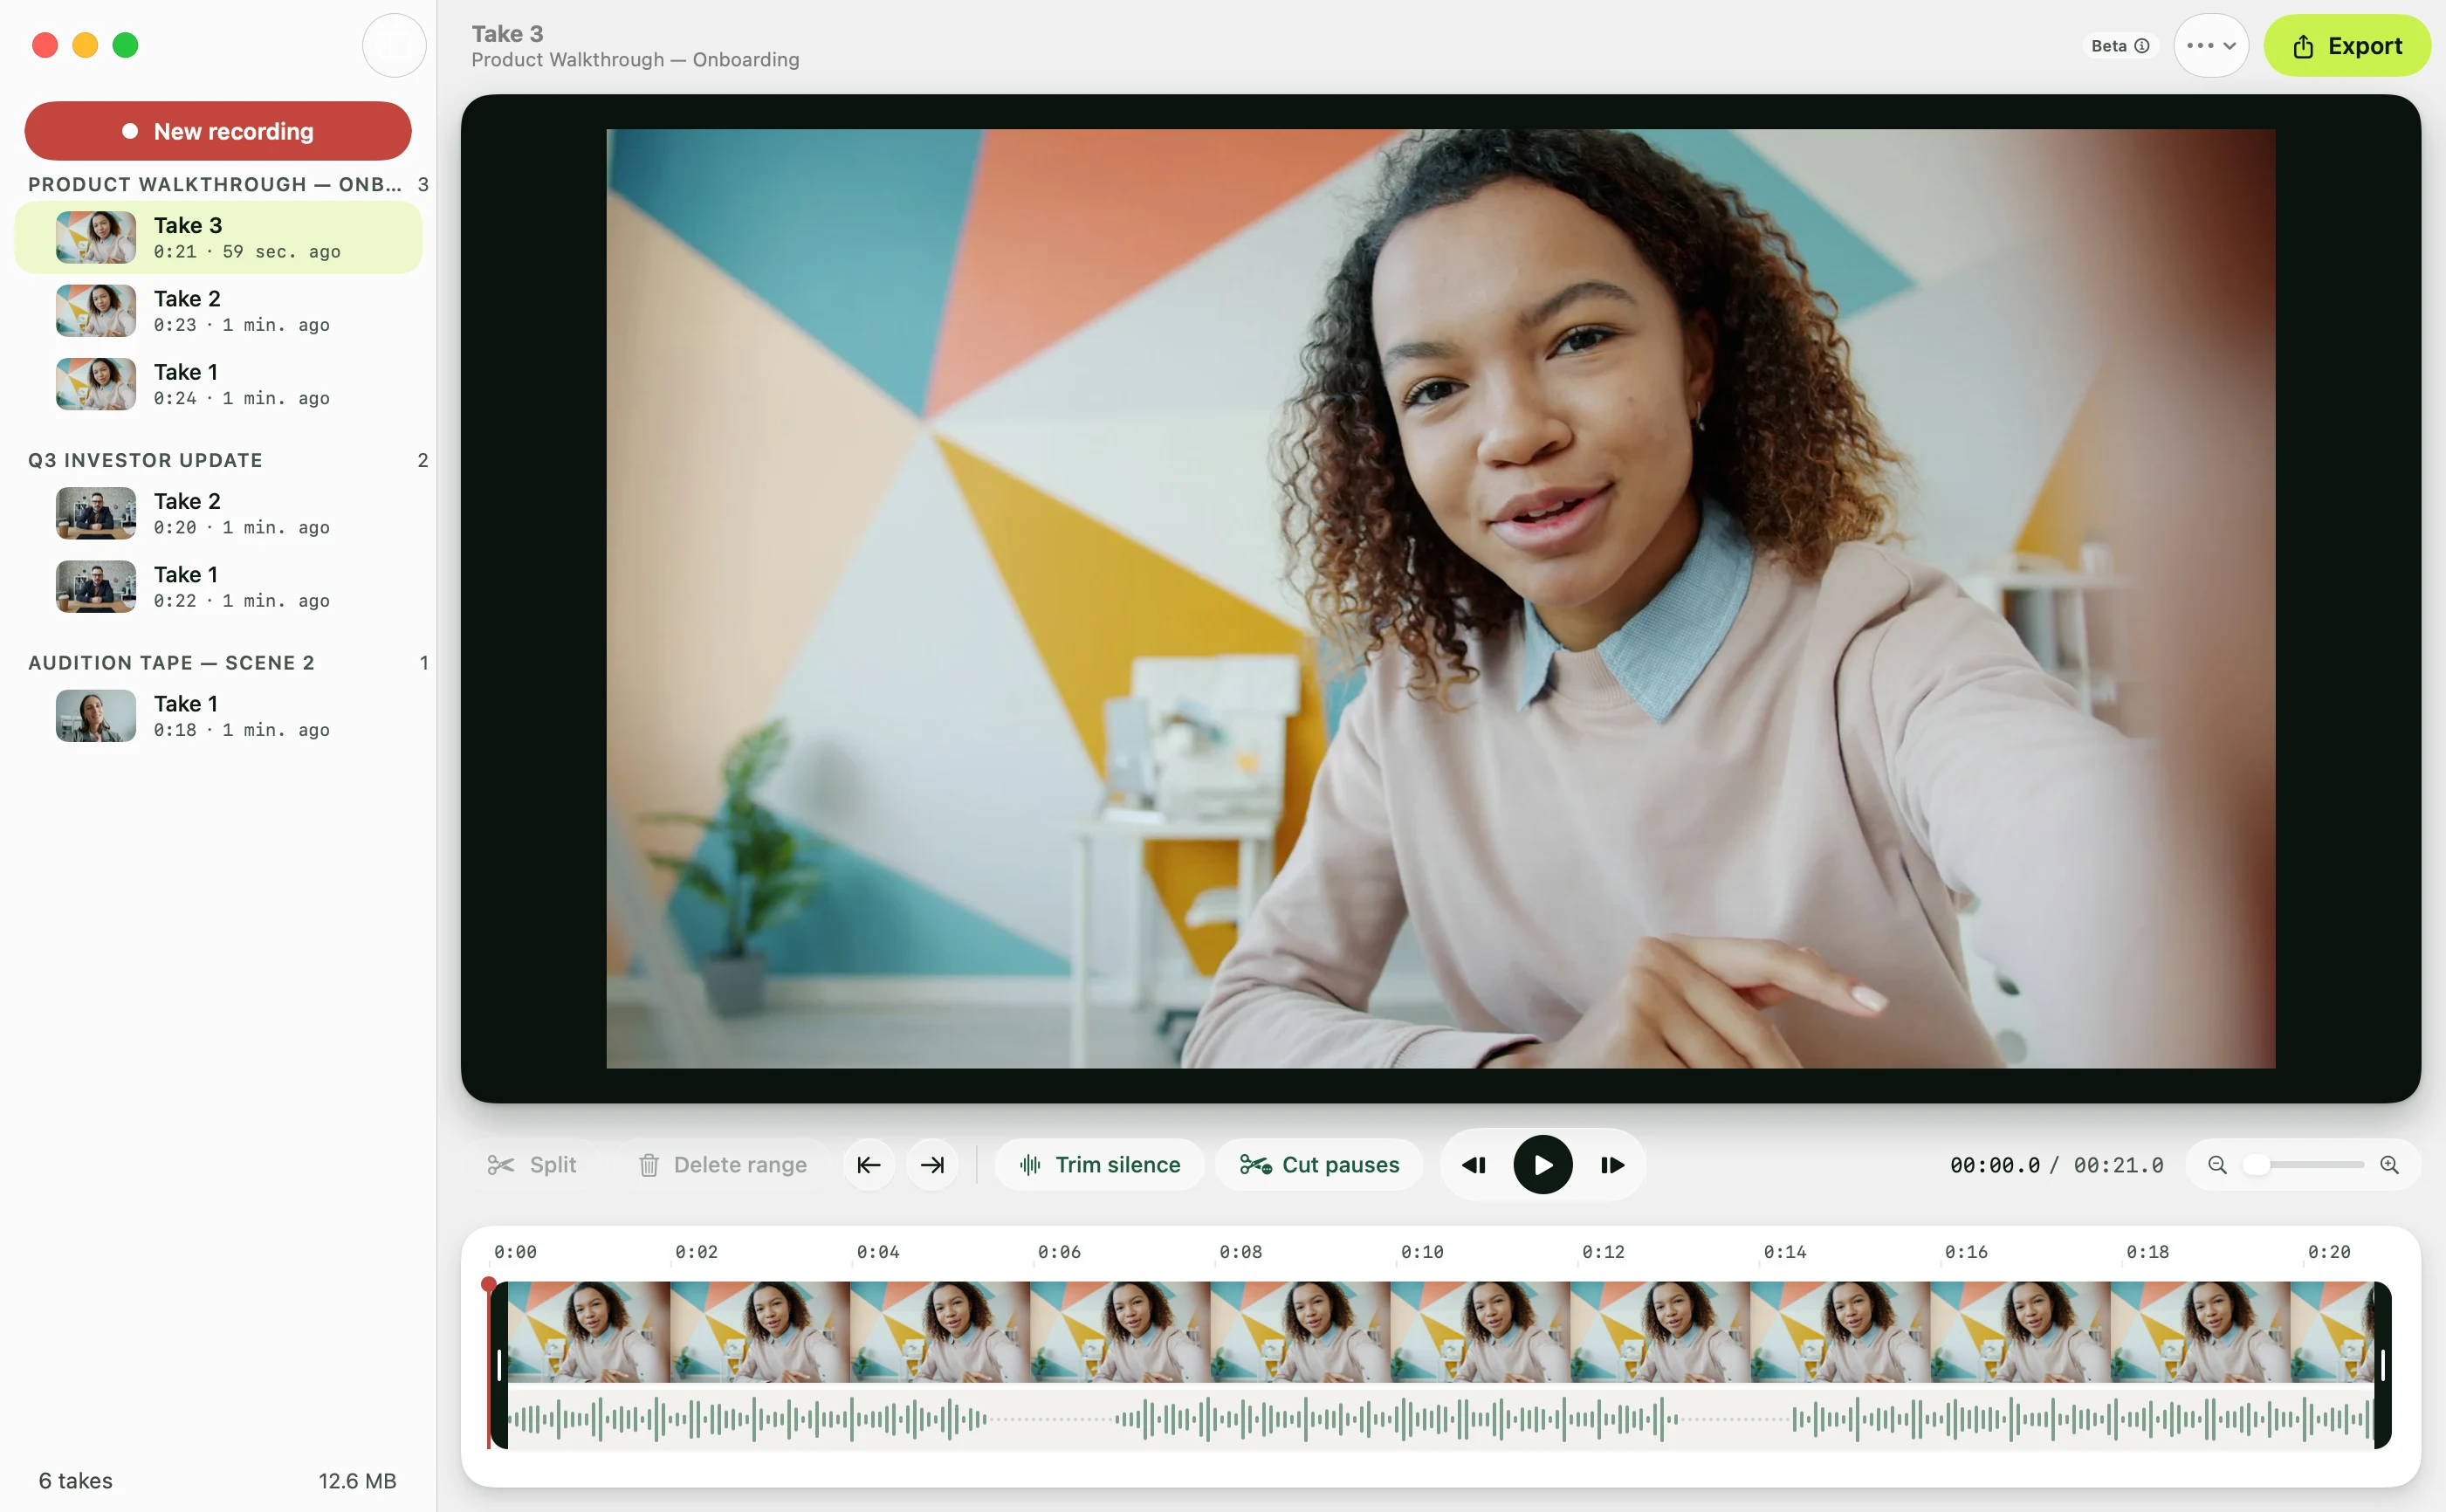
Avocado's Recording Studio does the whole job in one window. Press Record and the prompter opens with your script, scrolling as you speak. The take stops itself when you reach the last line, and it lands under its script with the others. Trim silence and Cut pauses remove the dead air in two clicks, and export gives you 16:9 for YouTube, 9:16 for Shorts and Reels, or 1:1 for LinkedIn. It works with the built-in camera, a USB webcam, or your iPhone. Recording Studio comes with Avocado Pro.
If you're new to reading on camera, here's how to sound natural doing it, and how to set up the text so your eyes barely move.