The Short Answer
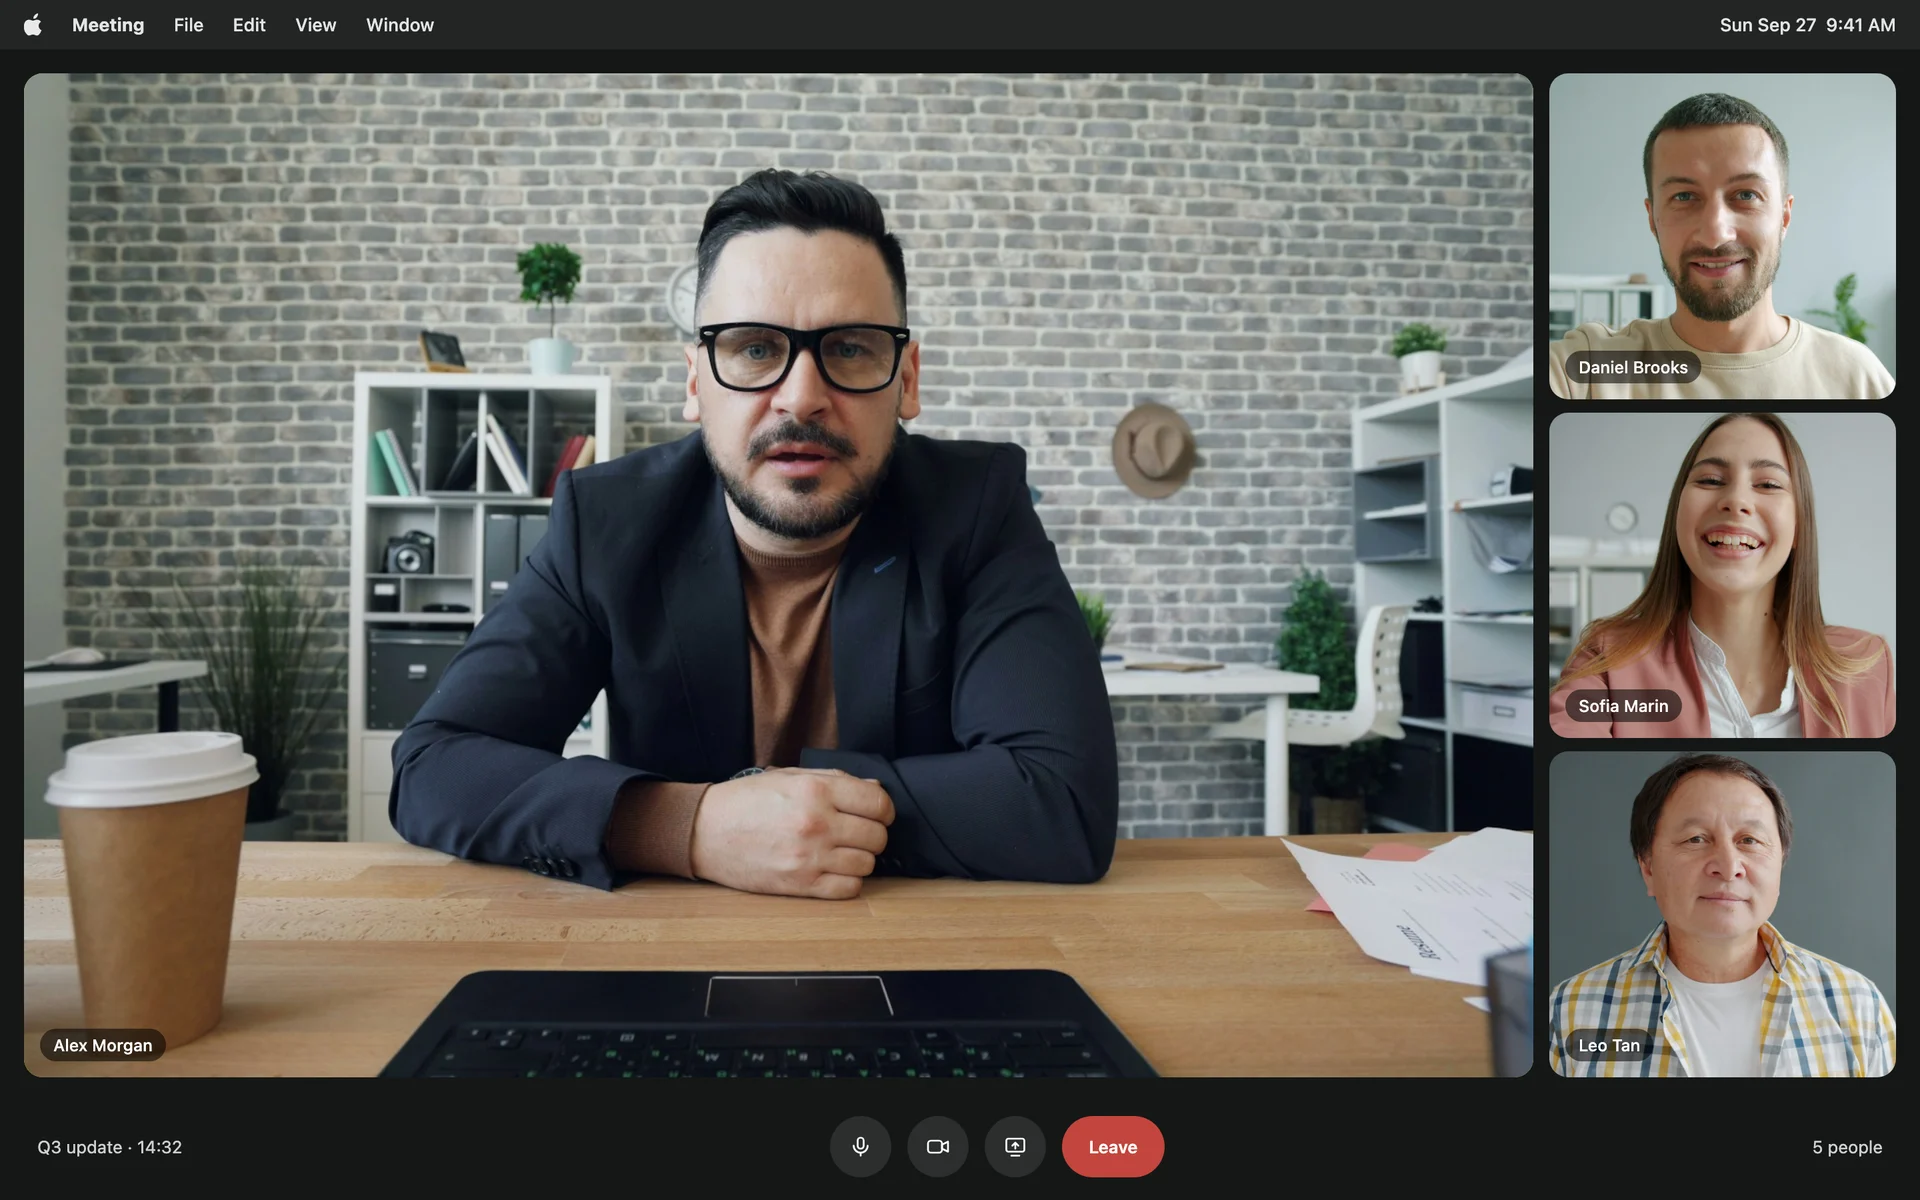
Open the Zoom app, start a New Meeting on your own, and click Record, choosing Record on this Computer if Zoom asks. When you end the meeting, Zoom saves an MP4 to the Zoom folder in your Documents.
For a quick message of a minute or two, Zoom Clips is faster still. Both are covered below.
Option 1: Record a Meeting on Your Own
- Open the Zoom desktop app and click New Meeting. You don't need to invite anyone.
- Check your camera and microphone in the menus next to the video and mute buttons.
- Click Record in the toolbar. If you don't see it, it's under More. Choose Record on this Computer if both options appear.
- Record. You can pause and resume from the same place.
- Click End. Zoom converts the recording, then opens the folder.
Local recordings land in Documents › Zoom, in a folder named for the date and meeting. You'll find an MP4 of the video and an audio-only file beside it. Free Zoom accounts can record to the computer. Recording to the cloud needs a paid plan.
Option 2: Zoom Clips
Clips is Zoom's tool for short recorded videos, and it skips the meeting entirely.
- Open the Clips tab in the Zoom app and click New clip.
- Choose to record your camera only, your screen only, or both.
- Click Start recording, and stop when you're done.
Clips are stored in your Zoom account and shared as a link, which suits a quick update to a team. On the free plan they've been limited to a handful of clips of up to two minutes each, so check your plan before relying on it for anything longer.
Settings Worth Changing First
Open Zoom › Settings before your first recording.
- Recording: choose where local recordings are saved. If you'll edit the video afterwards, turn on the option to optimise for a third-party video editor. If you share your screen, you can record your camera alongside it.
- Video & Effects: pick your camera and turn on HD. Adjust for low light helps in a dim room, and Touch up my appearance softens the image slightly. A virtual background or blur hides a messy room.
- Audio: choose your microphone, and test it. A USB or clip-on mic close to your mouth sounds far better than the laptop's.
Look at the Camera, Even When You're Reading
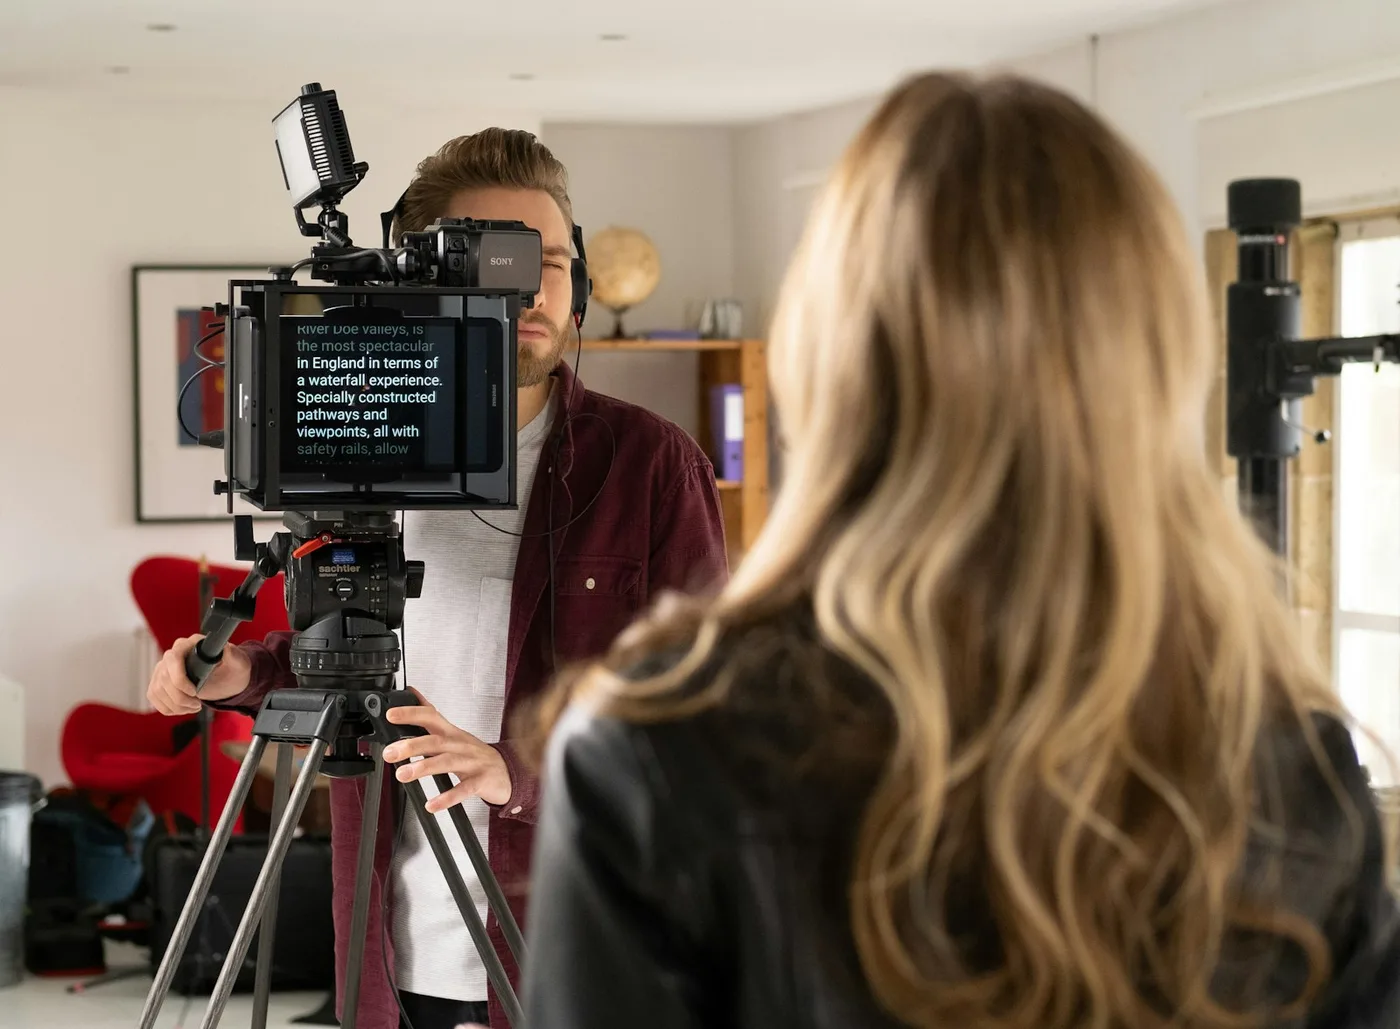
The hard part of recording yourself is usually the words. If your notes are in a document in the middle of the screen, you'll glance down at them on every line, and it shows. Viewers still read your gaze as eye contact when you look up to about 5° below the camera, which at arm's length is about 5 cm. Notes in the middle of a laptop screen sit about twice that far down.
A teleprompter puts the words inside that zone. Avocado shows your script in the MacBook notch, right next to the camera, and Zoom can't see it, so it never appears in the recording or a screen share. With voice scrolling it follows you as you speak and holds when you stop. For the setup details, see the best teleprompter font and size.
Or Skip Zoom Altogether
Zoom is the right tool when the recording is a meeting, or when people expect a Zoom link. For a video of just you, a meeting is a roundabout way to make one: the file is compressed for calls, and every retake is another meeting.
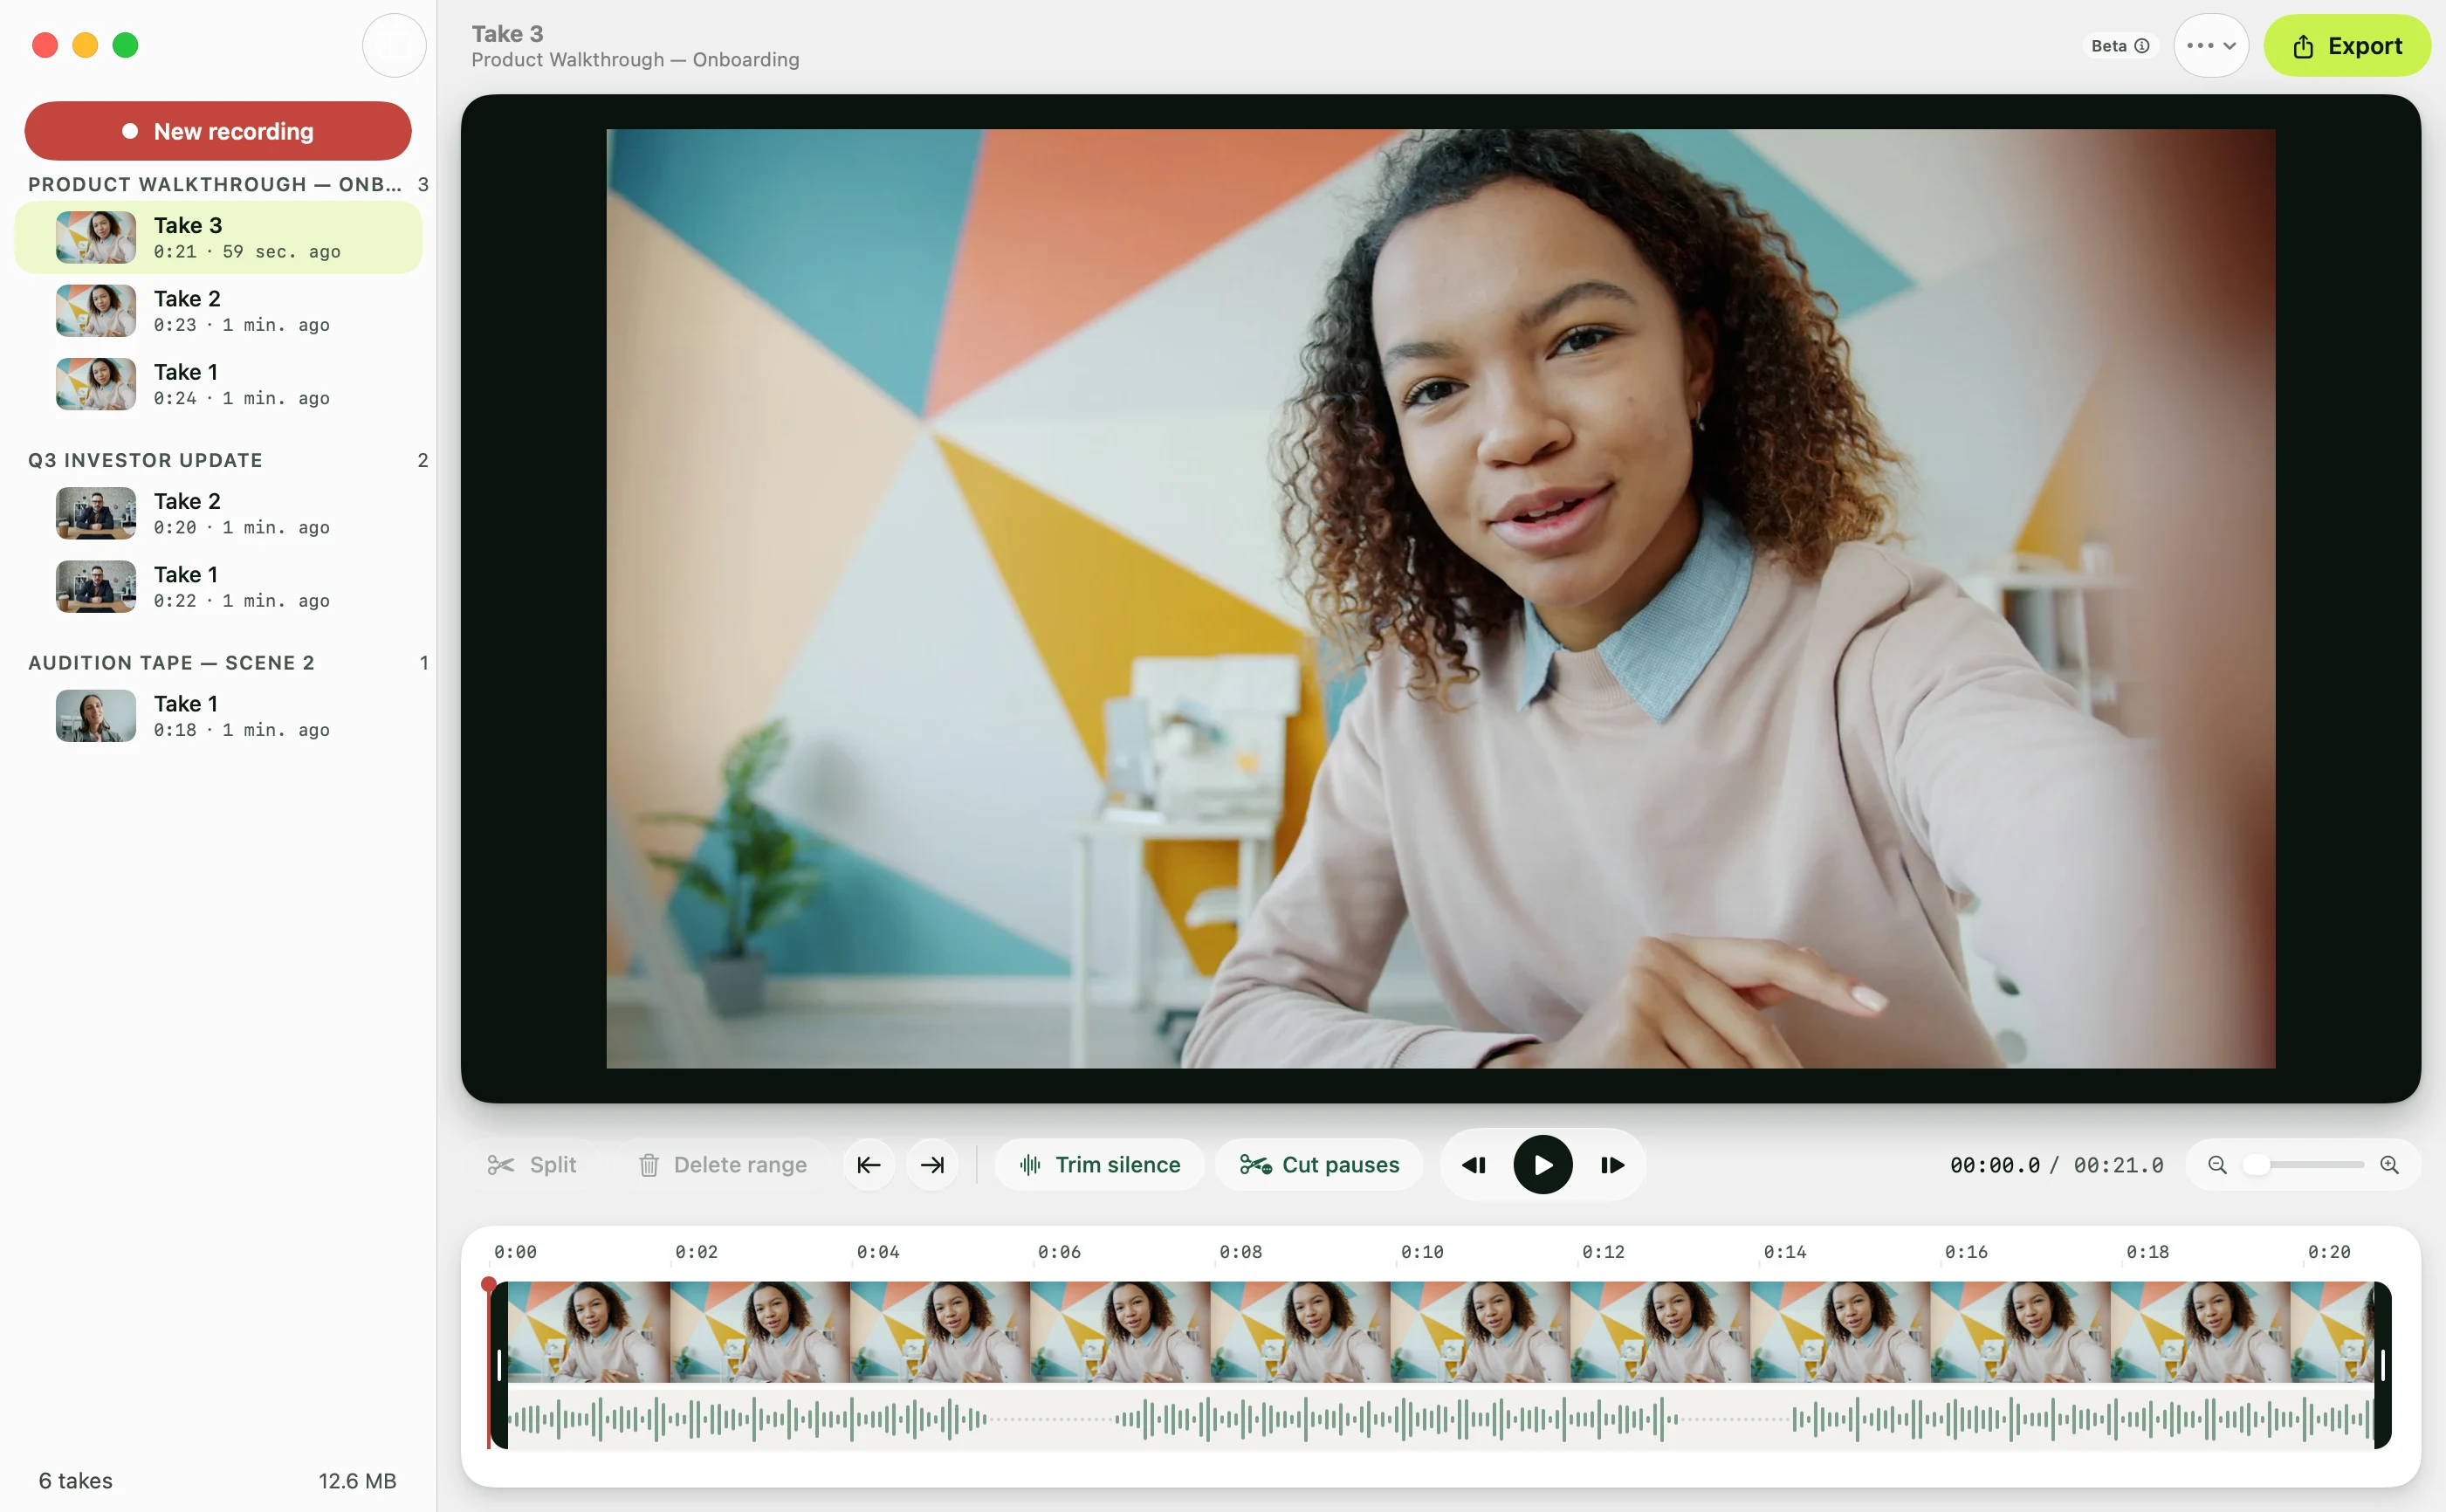
On a Mac you have simpler options. QuickTime Player records your camera in a couple of clicks, and here's the full guide to recording yourself on a Mac. If you're reading a script, Avocado's Recording Studio (Pro) records the take while the prompter runs, stops when you reach the last line, removes the pauses in a click, and exports for YouTube, Shorts or LinkedIn.