The Short Answer
- Face your light. Sit facing a window or a lamp, never with a window behind you.
- Raise the camera to the height of your eyes.
- Frame head and shoulders, with your eyes about a third of the way down.
- Wipe the lens.
- Then try the effects in the Video menu, like Studio Light and Portrait.
Do them in that order. Light makes the biggest difference by far, and no camera or effect can make up for a bad one.
1. Fix the Light First
A webcam has a small sensor. In dim light it raises the gain to compensate, and that's where the grain, the smeared detail and the muddy colour come from. Give it more light on your face and the same camera suddenly looks sharp.
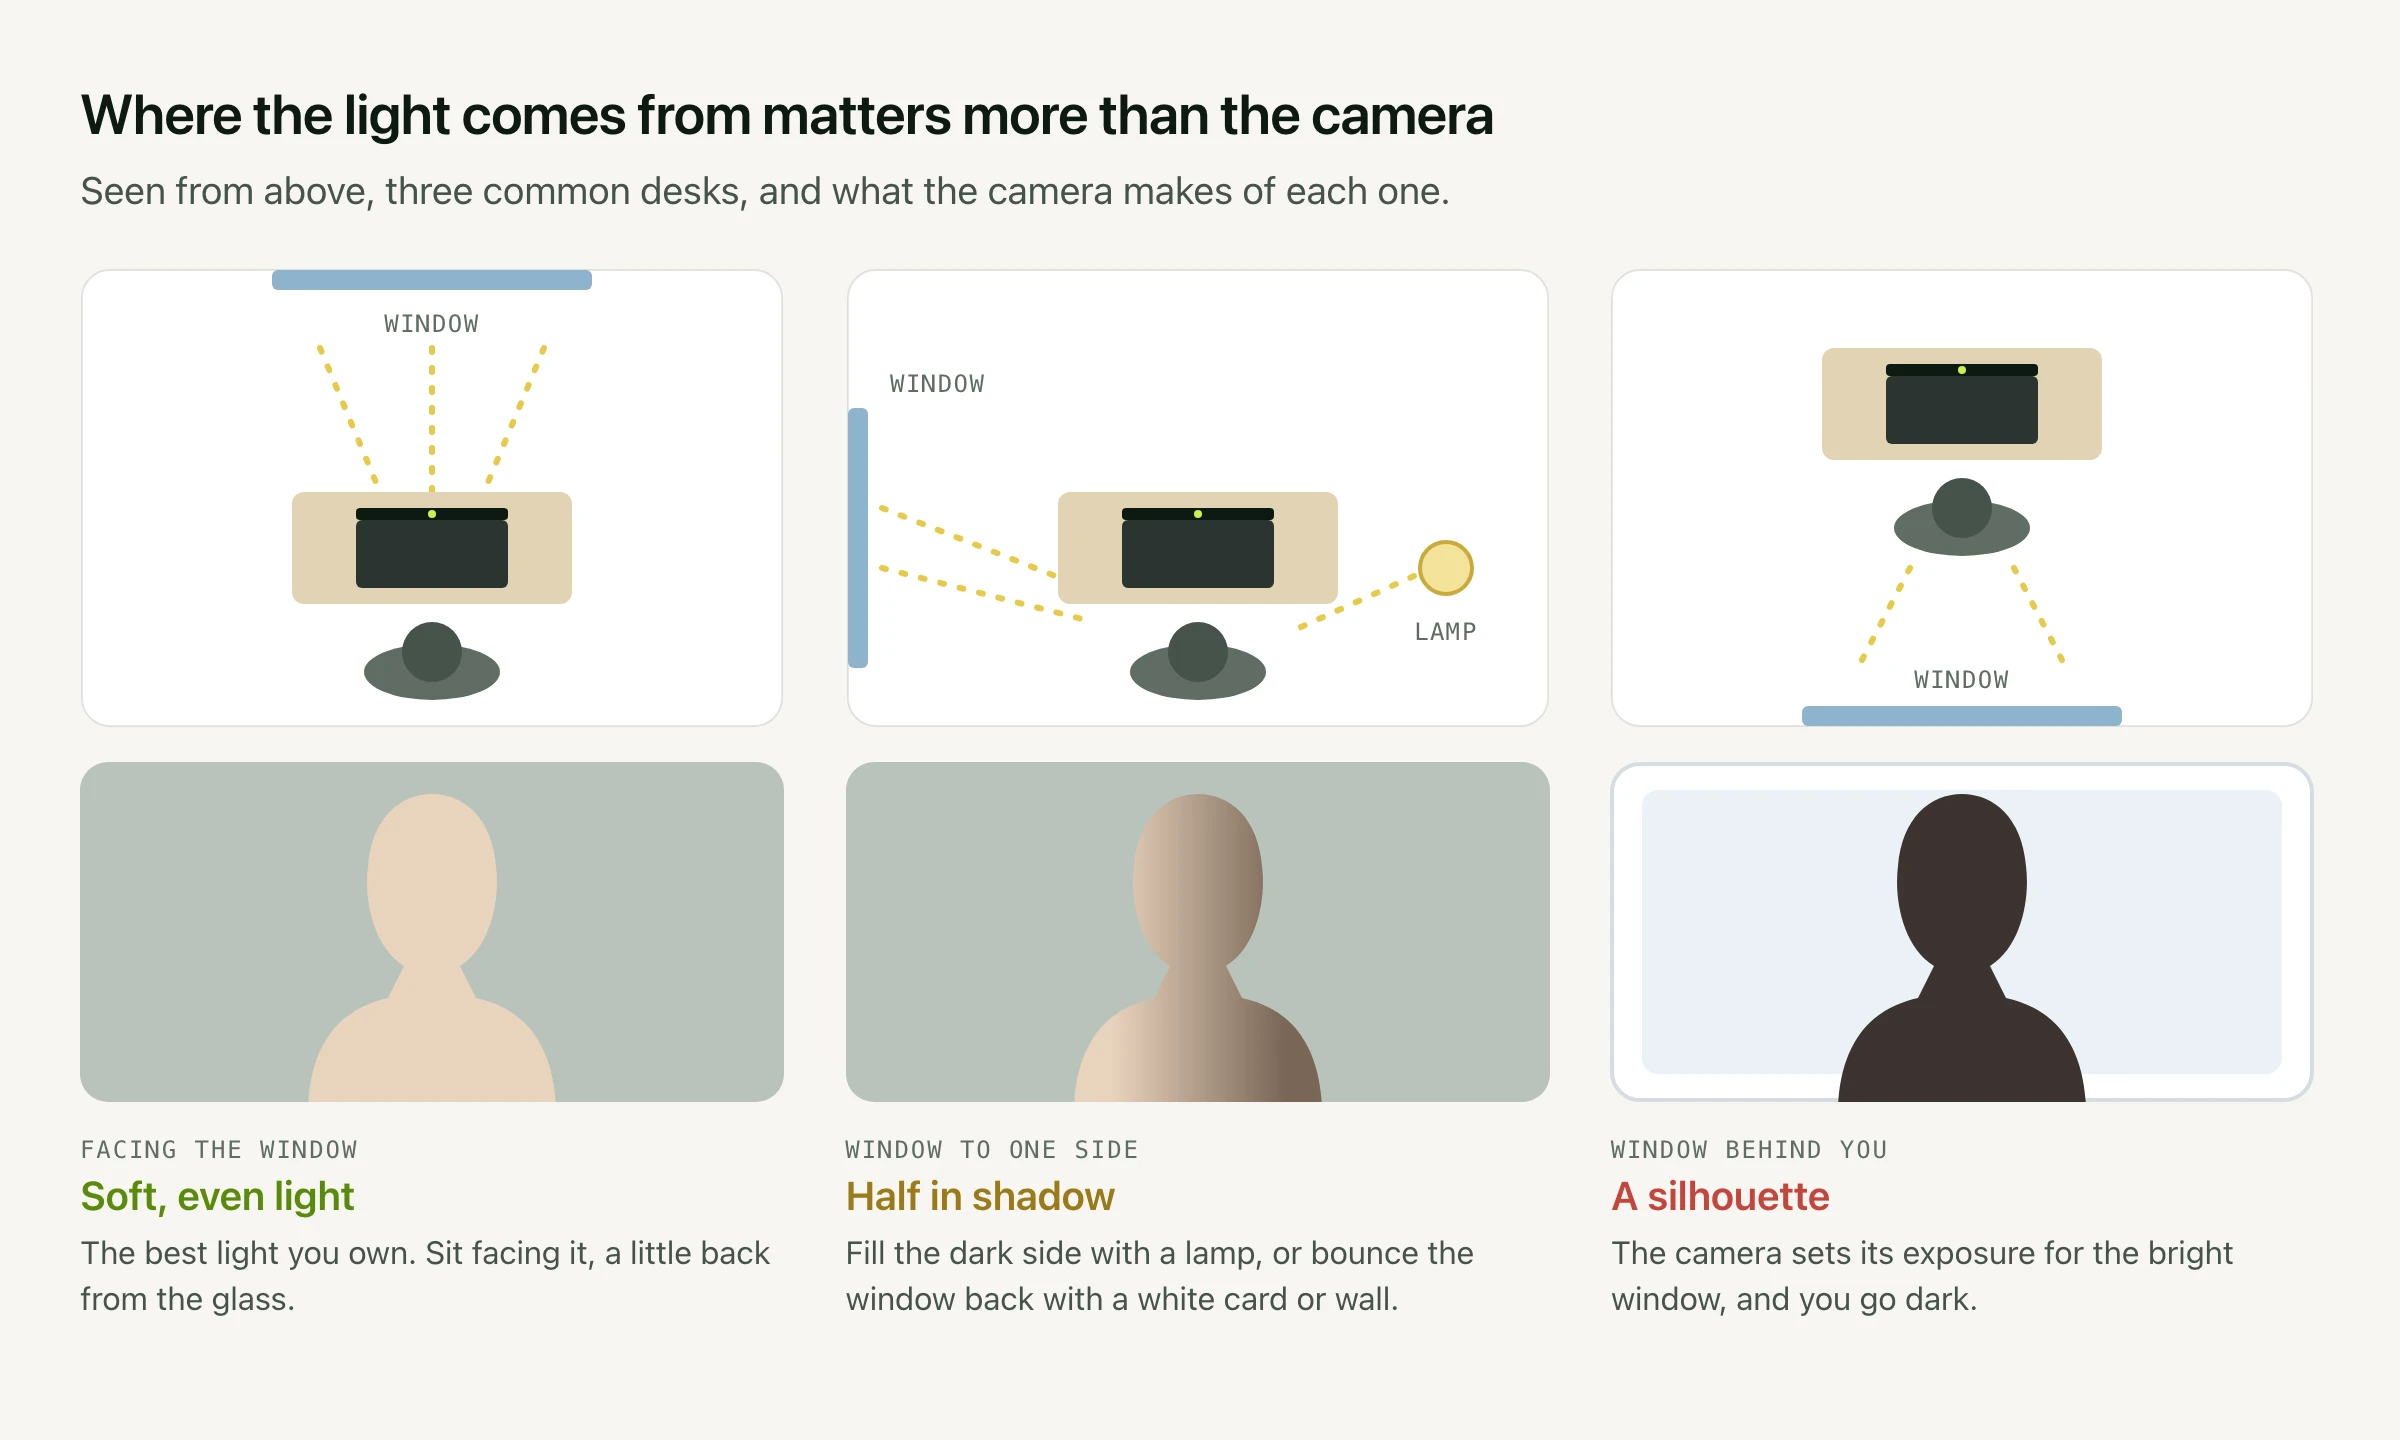
- Face a window. Daylight from in front is soft and even, and it's free. Sit a little back from the glass. If the sun comes straight in, a sheer curtain softens it.
- Window to one side? Half your face goes into shadow. Fill the dark side with a lamp, or bounce the window light back with a white wall or a sheet of white card.
- Window behind you? Turn the desk around if you can. The camera sets its exposure for the bright window, and you turn into a silhouette.
- At night, put a lamp behind the laptop pointing at you, or bounce it off the wall behind the screen so it's softer. A ceiling light on its own puts shadows under your eyes.
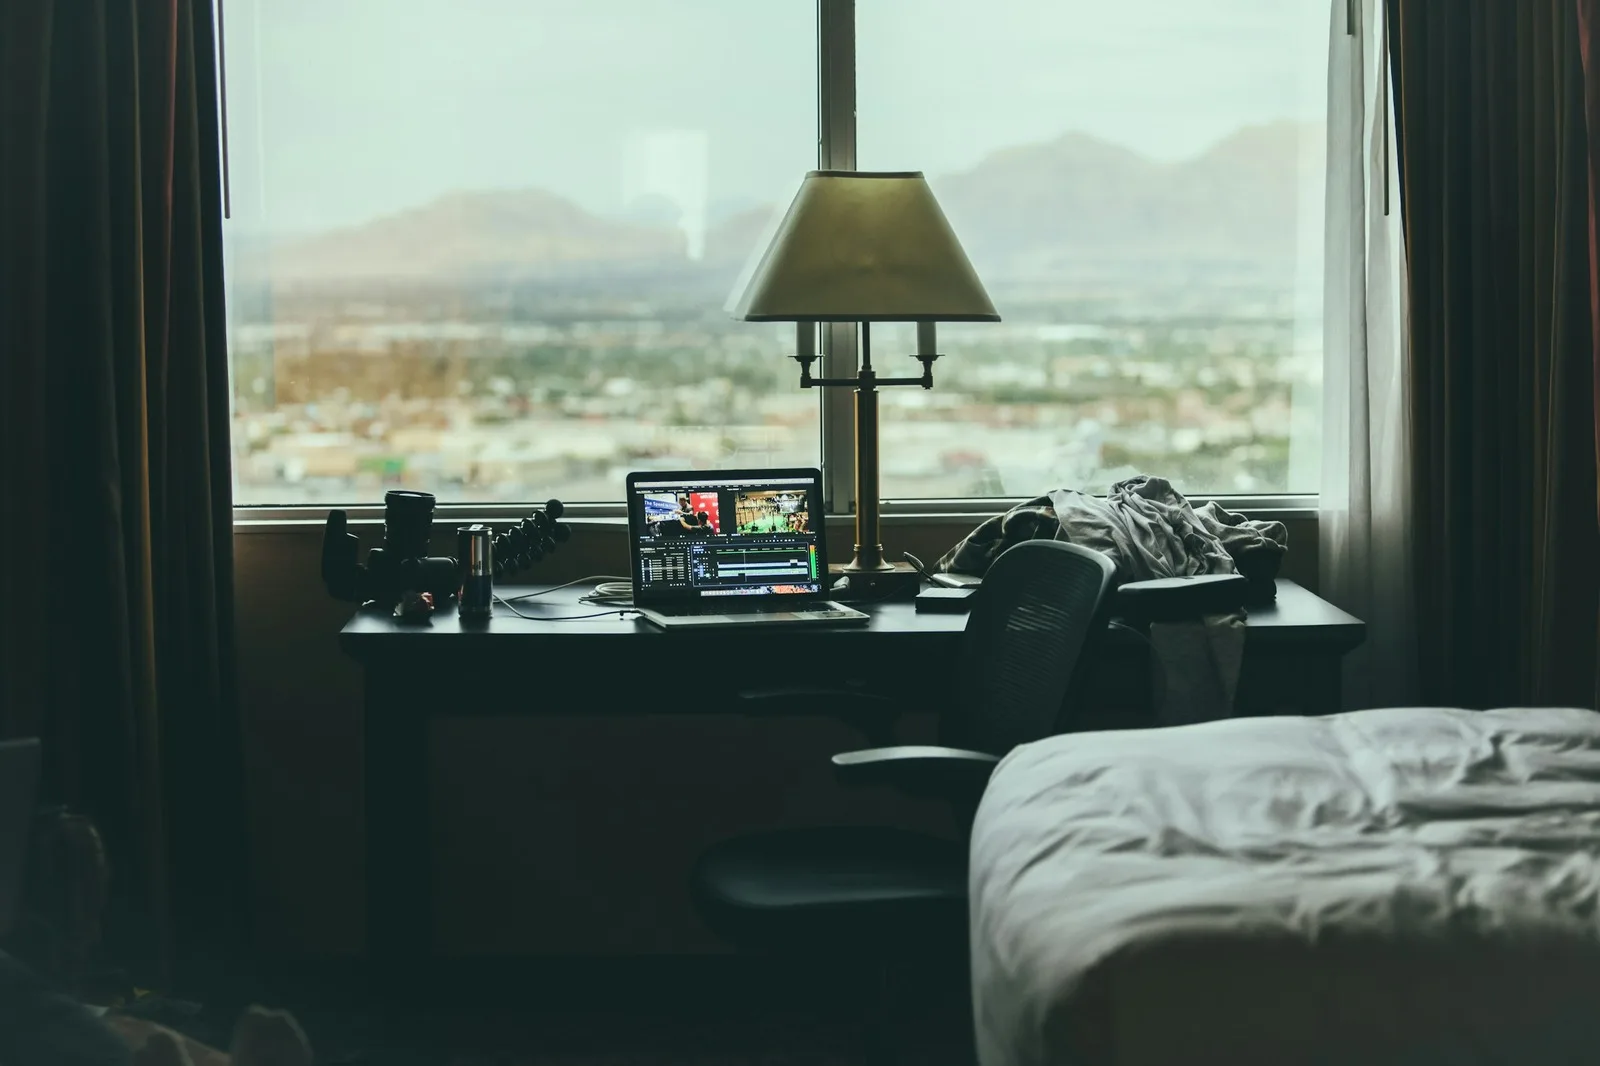
Your Mac can help too. On macOS Tahoe 26.2 or later, Macs with Apple silicon have Edge Light, which turns the edges of the screen into a soft ring light during a call.
2. Put the Camera at Eye Height and Frame the Shot
A laptop flat on a desk looks up at you: chin, nostrils and ceiling. Raise it on a stand or a stack of books until the camera is level with your eyes, and use an external keyboard and trackpad while it's up there.
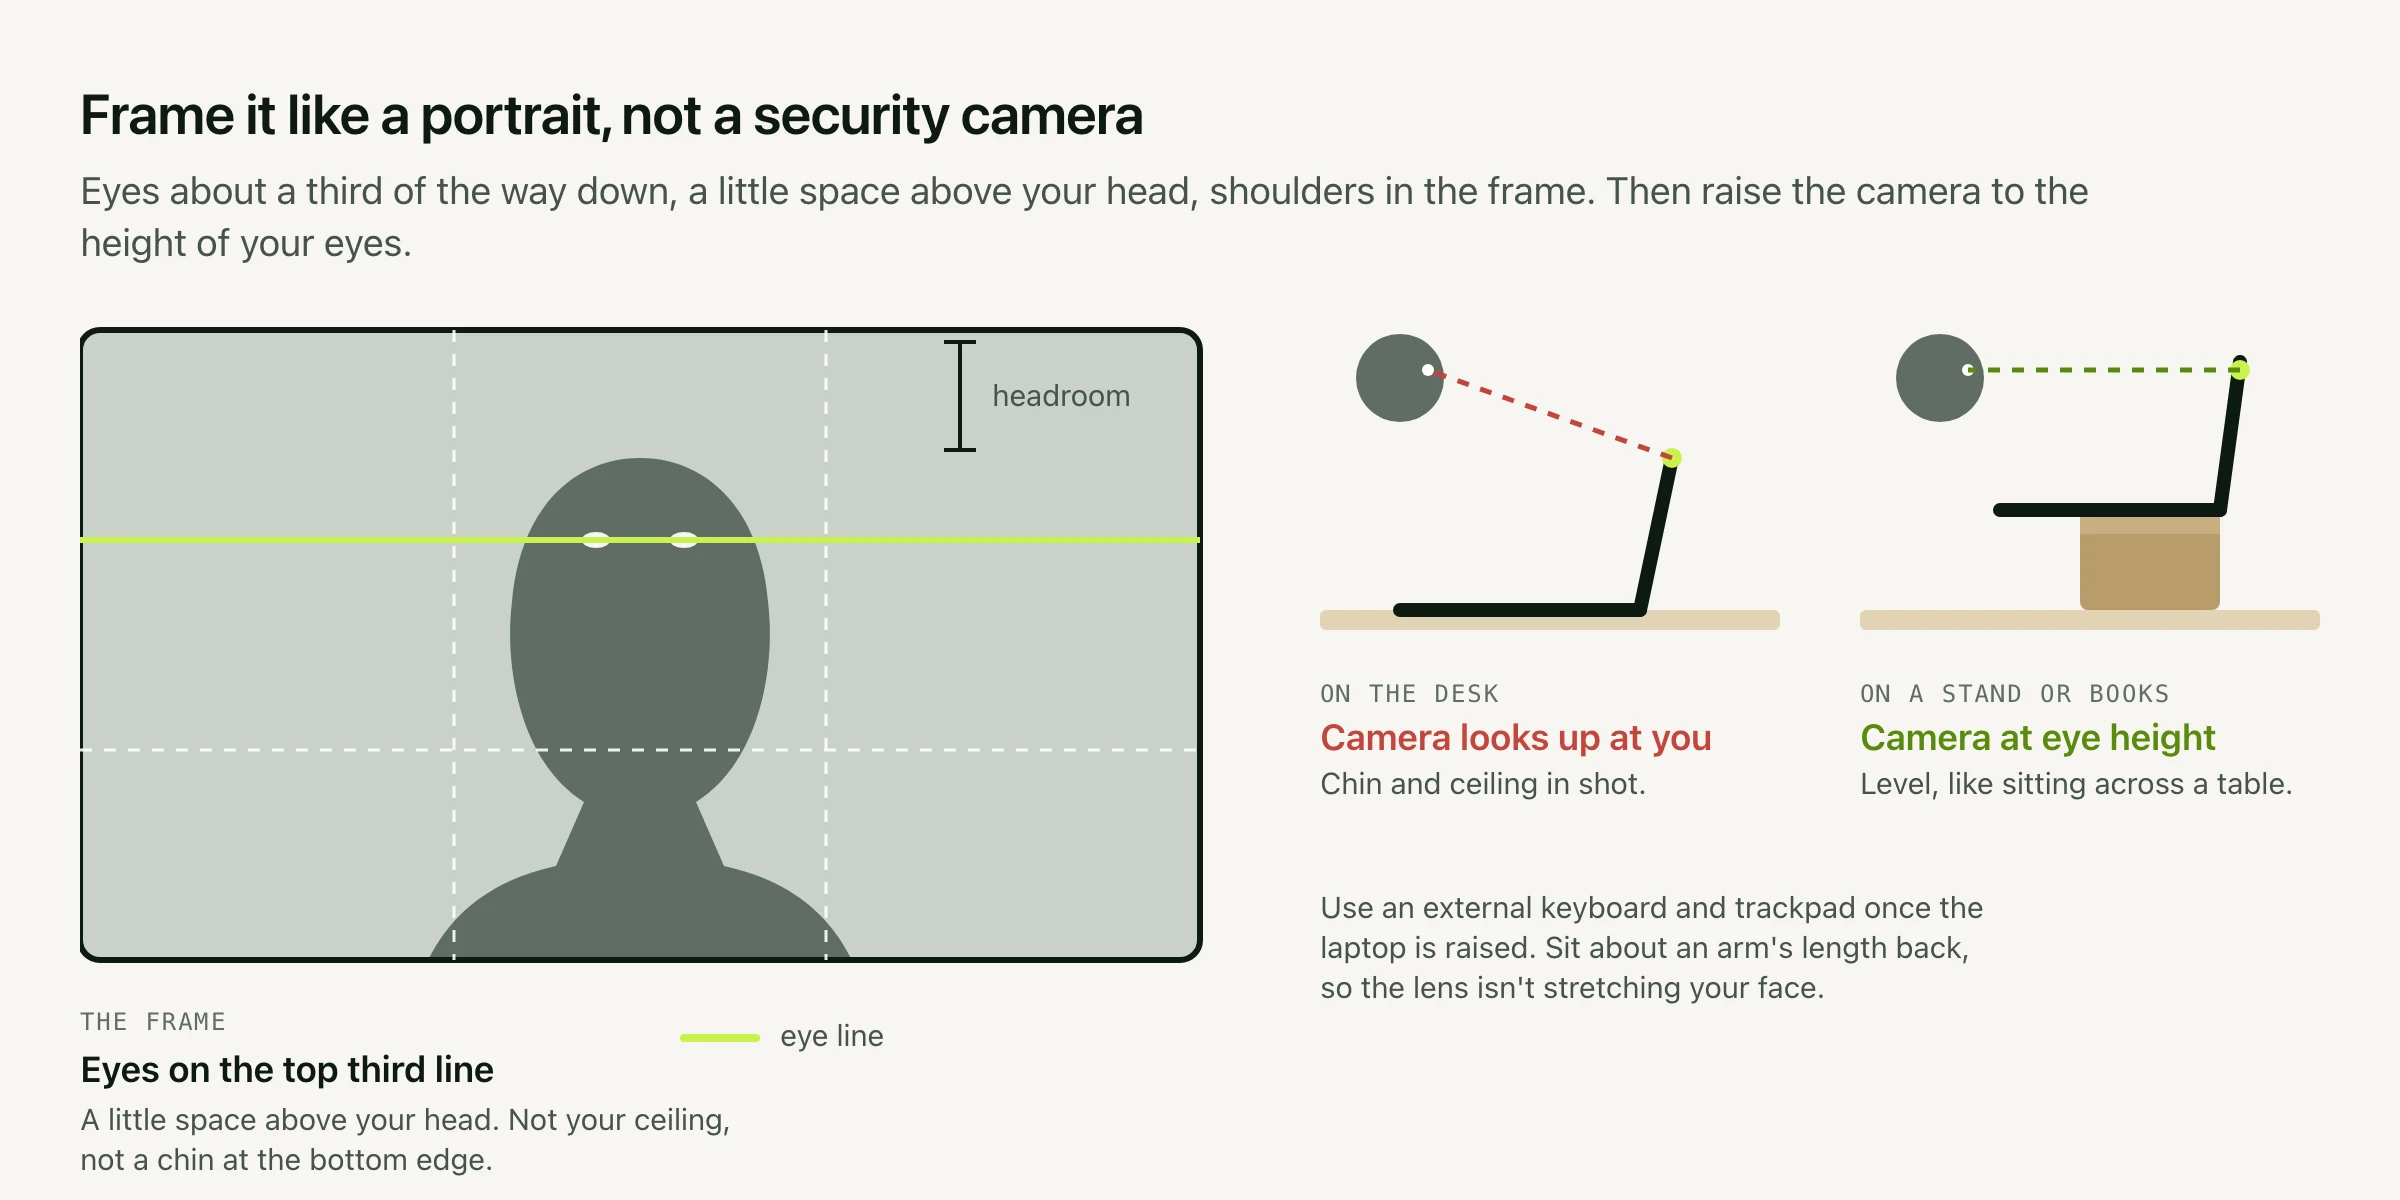
Then frame yourself like a portrait. Your eyes go about a third of the way down the frame, with a little space above your head and your shoulders in shot. Sit about an arm's length back. Up close, a wide laptop lens stretches whatever is nearest to it, which is usually your nose.
Check what's behind you while you're at it. Anything bright or busy over your shoulder pulls the eye. A plain wall a few feet back, or a tidy shelf, works well.
3. Clean the Lens
This one sounds too simple to matter, and it fixes more hazy webcams than anything else. A laptop lid closes onto the keyboard, and the lens picks up a film of fingerprints and skin oil. Wipe it with a dry microfibre cloth.
4. Use the Video Effects Built Into macOS
While an app is using the camera, macOS Sonoma and later show a Video menu in the menu bar. (On macOS Ventura, it's under Control Center › Video Effects.) What's in it depends on your Mac and camera:
- Studio Light brightens your face and dims the background, like a key light. It needs macOS Sonoma on a Mac laptop with Apple silicon, or an iPhone 12 or later as the camera.
- Portrait blurs the background. It needs a Mac laptop with Apple silicon, or an iPhone XR or later as the camera.
- Center Stage keeps you centred as you move. It needs a Mac with the 12MP Center Stage camera, a Studio Display, or an iPhone 11 or later as the camera.
- Background replaces what's behind you with a colour or an image. It needs macOS Sequoia on a Mac with Apple silicon, or an iPhone 12 or later on iOS 18.
- Edge Light lights your face from the edges of the screen. It needs macOS Tahoe 26.2 on a Mac with Apple silicon.
Studio Light is the one most people should try first, because it does the job of a lamp you don't have. Use Portrait and background replacement lightly: they're processed live, and hair and hands can blur at the edges. The same menu has Mic Mode, where Voice Isolation cuts background noise.
5. When You Want a Better Camera
If you've done all of the above and still want more, the cheapest upgrade is probably in your pocket. With Continuity Camera, an iPhone works as your Mac's webcam with no app and no cable, and its rear camera is a big step up from a laptop's. Here's how to set it up. A good USB webcam is the other option, and works the same way: put it on top of the screen, at eye height.
Don't forget sound, which gives home video away faster than picture. A microphone close to your mouth beats the built-in one at arm's length. There's more on that in how to record yourself on a Mac.
When You're Recording Rather Than Calling
Everything above applies to recorded video too, with one addition: you'll usually be reading. Avocado puts your script in the notch, right under the camera, so you can read without looking down. Its Recording Studio shows your camera in a small preview just under the prompter, can draw a 9:16 or 1:1 framing guide over it, and records takes from the built-in camera, a USB webcam or an iPhone. Recording Studio comes with Avocado Pro.